Ladies, Get Rid Of Those Bare Walls, On A Budget!
If you’ve been following my IG for a while now you likely know that we’ve taken on the task of re decorating the second level of our home. I love a good refresh and honestly really enjoy spending the quality time with my husband (and because he likely won’t read this post I’ll say that he really enjoys it too). LOL
In all seriousness it’s really helpful and nice to have a handy husband that can bring my dreams into reality however the below post was all me, ladies!
There’s nothing I hate more than a blank wall that looks like it’s missing something and after re decorating and spending the bulk of our budget on the larger items like the sofa, bookshelves and fireplace. So, I had to get creative with the decor items.
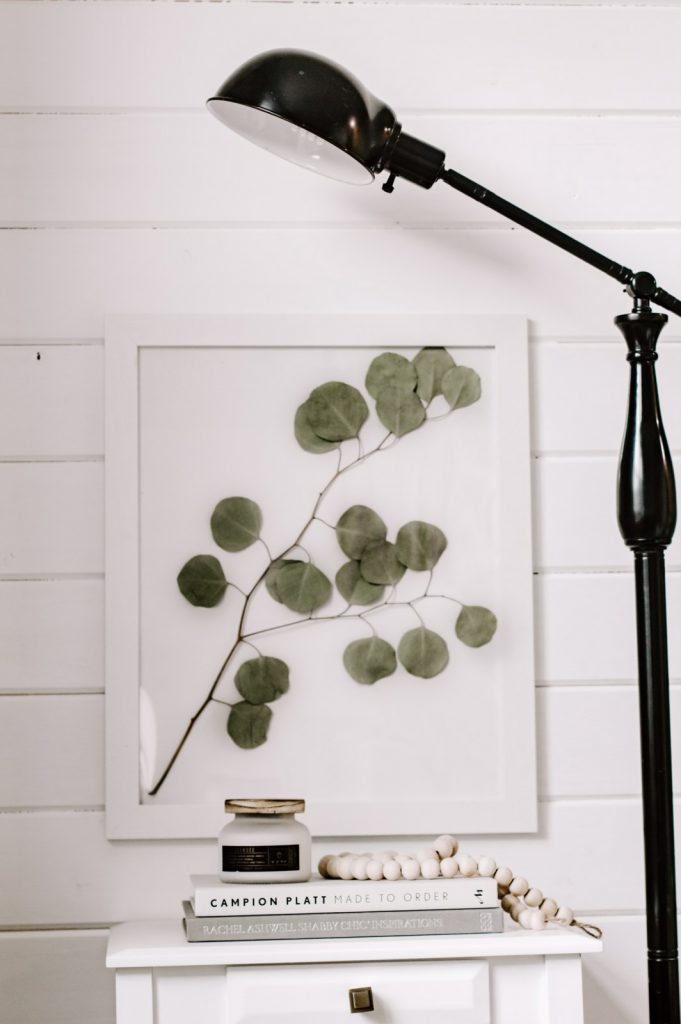
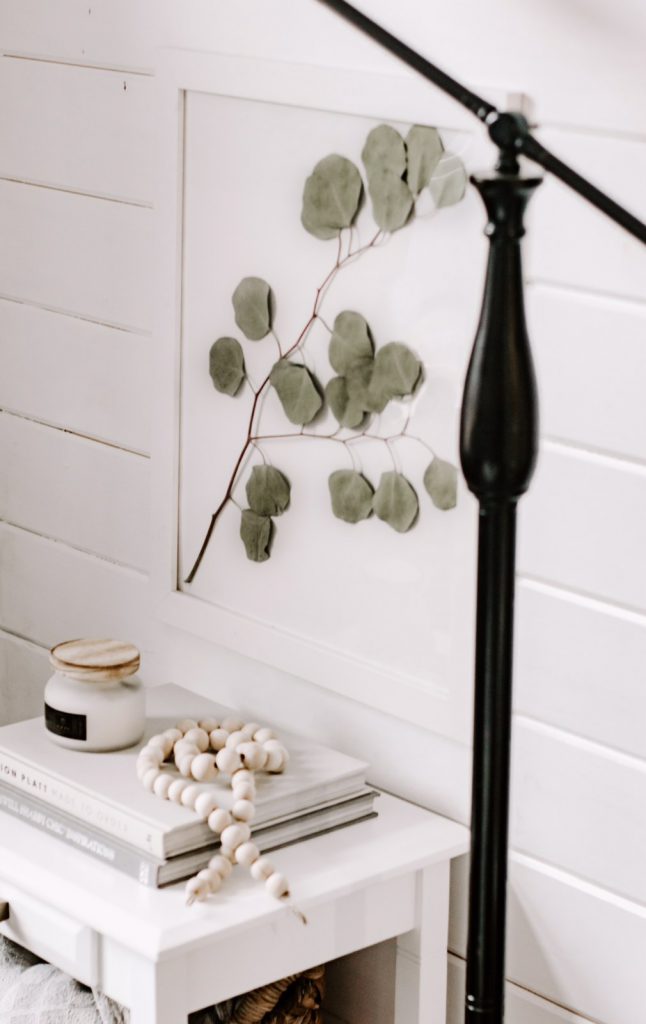
I created this framed eucalyptus piece on a budget and its soooo cute!
Brett buys me flowers (almost) every week, and yes, I know… he’s a keeper. The last bouquet had this beautiful sprig of eucalyptus that I just loved. Once the flowers lived their span, I couldn’t throw the eucalyptus away and I thought, this could turn into a neat DIY.
See below for my DIY eucalyptus wall decor
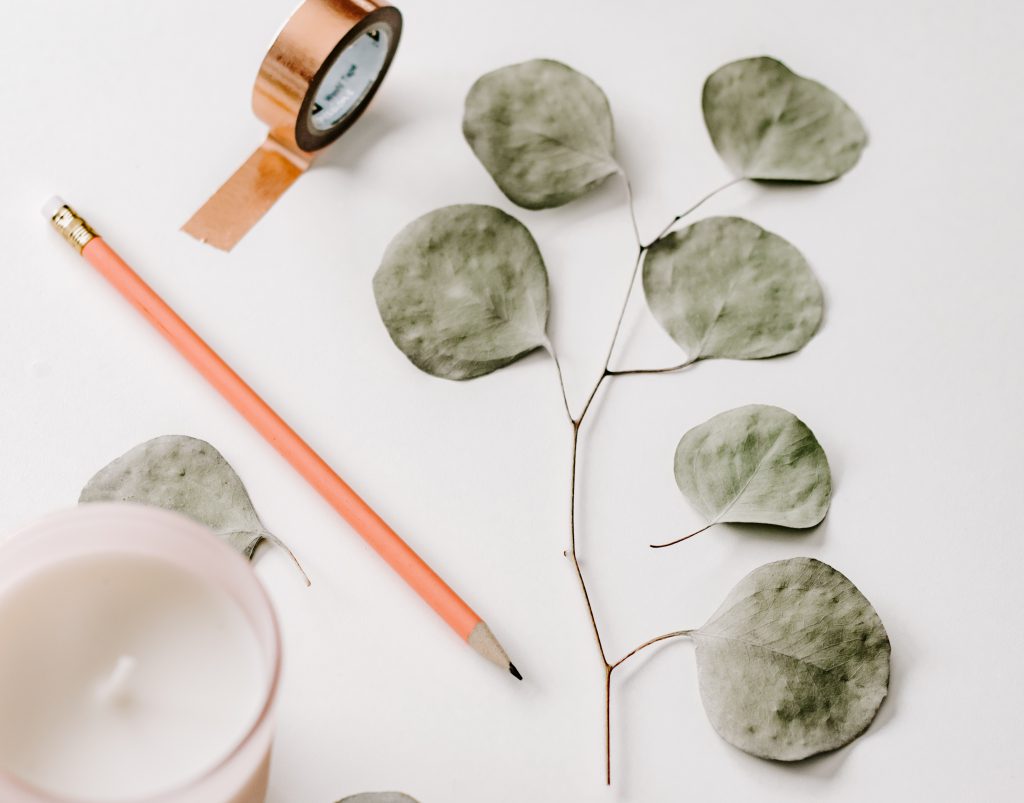
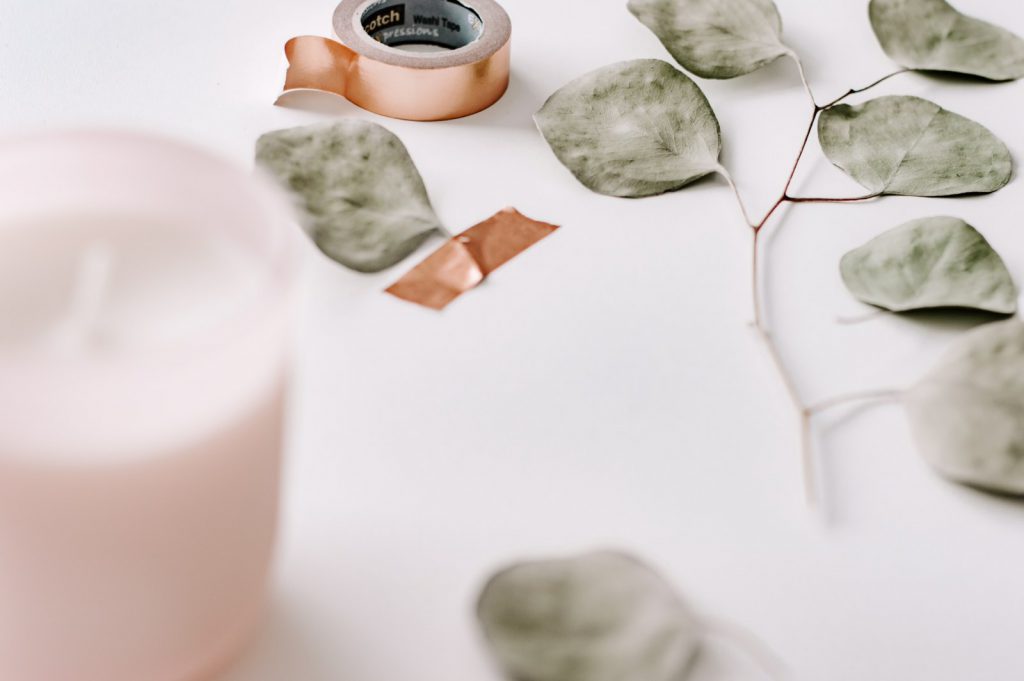
What you’ll need:
1-3 Springs of eucalyptus; or any greenery for that matter
1 frame; for this specific DIY I used an 18” by 24” frame from Michaels craft store.
White Bristol board
Ruler/tape measure
Scissors
Pencil
Tape or hot glue
How to do it:
First you need to fit the bristol board board to the frame. Use the ruler or tape measure to measure out the size of the frame, mark with a pencil and cut to size.
Then place your greenery on the newly cut bristol board and tack it into place with hot glue or tape.
Then put your frame back together and hand in desired location.
I also think making a set of 3 with different types of greenery would make a great statement piece above a console table or dresser would be stunning!
And there you have it! I’d love to hear from you if you decide to tackle this DIY, send pictures, tag me on IG or send me a DM if you have any questions.
Happy Crafting!
![]()